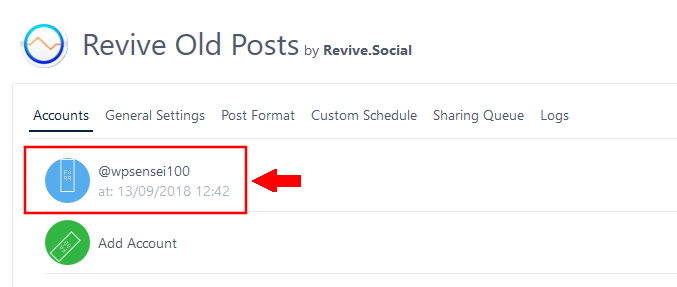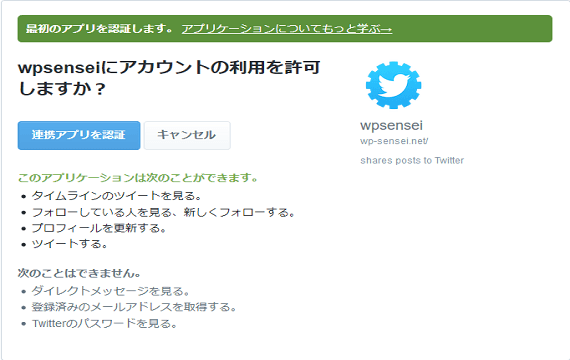
今回は、Revive Old Posts ツイッターと連携できない人への設定方法について紹介します。
目次
ツイッターデベロッパーアカウント作成方法
ツイッターデベロッパーサイトを開きます。
↓
https://apps.twitter.com/
「Apply for a developer account」を押します。

電話番号認証
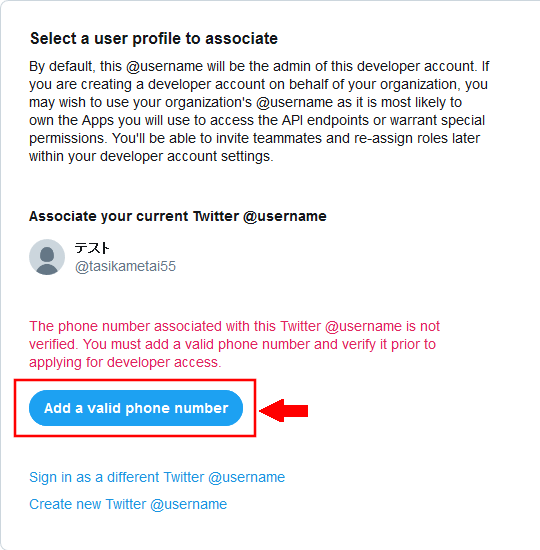
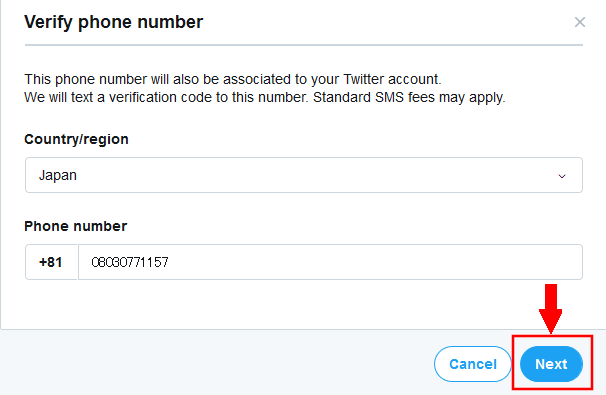
「Add a valid phone number」を押します。
①「select a contry/region」を押して、「Japan」を選びます。
②「phone numer」に電話番号を入力します。
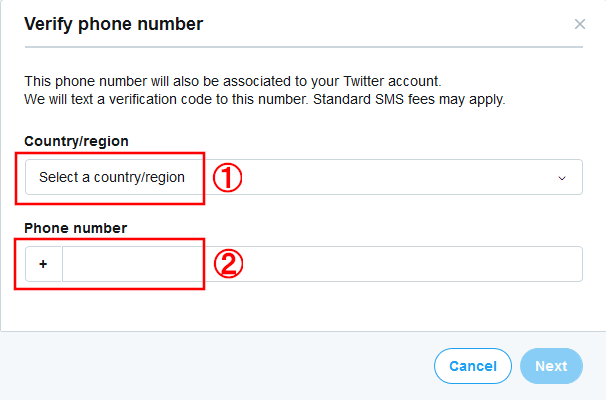
「Next」を押します。
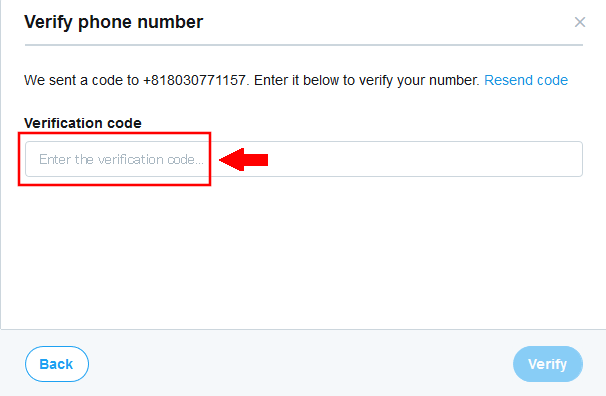
携帯に「Verification code」が届きます。
そのコードを「Verification code」に入力します。
「Verity」を押します。
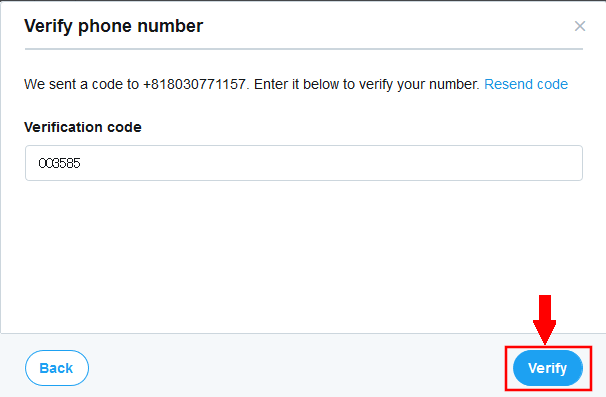
電話番号認証は完了です。
デベロッパーアカウント作成
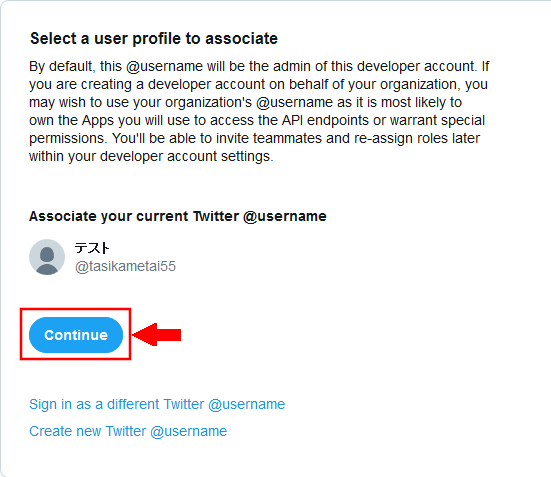
「Continue」を押します。
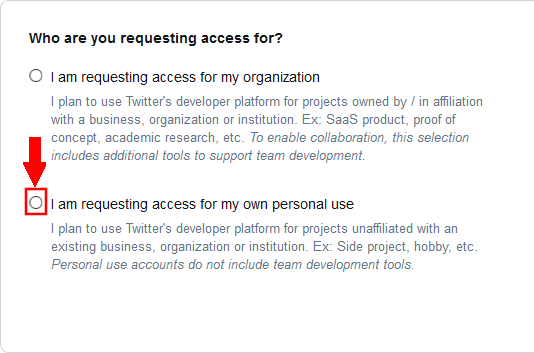
「I am requesting access for my own personal use」にチェックを入れます。
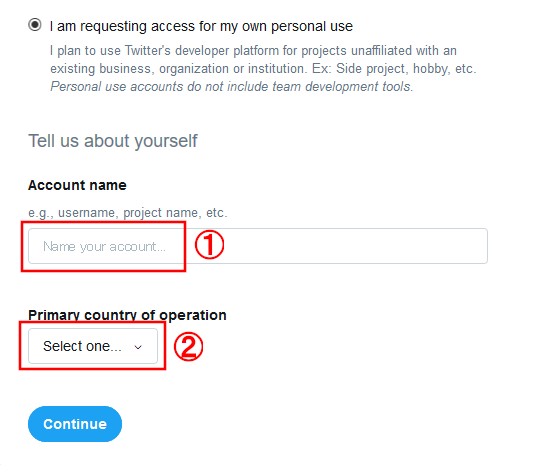
①「Accont name」自分の名前をアルファベットで入力します。
②「Primary country of operation」で「Japan」を選びます。
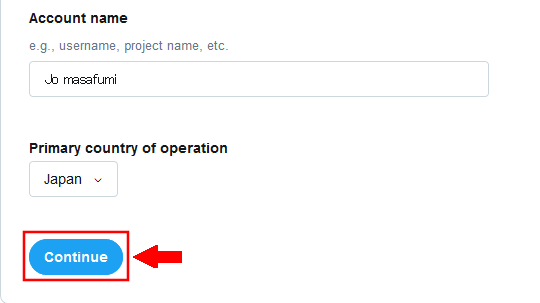
「Continue」を押します。
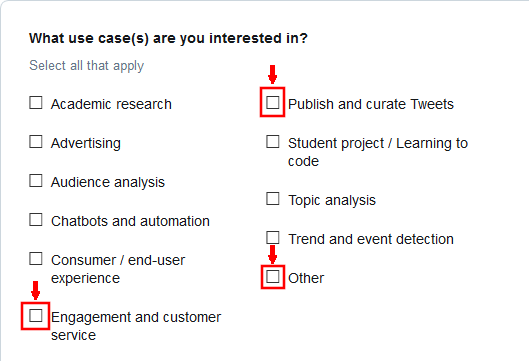
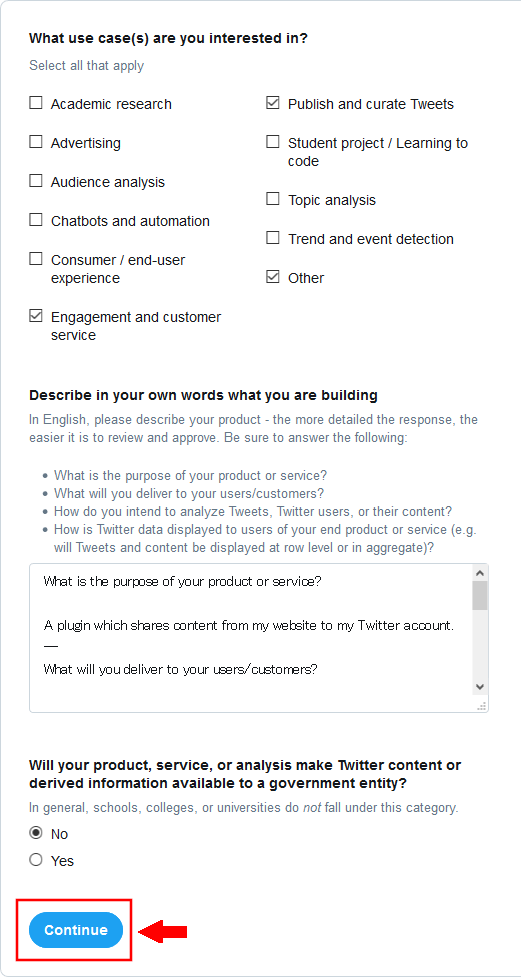
「Publish and curate Tweets」
「Enagagement and customer service」
「Other」
上記の3つにチェックを入れます。
下記の文章をコピーして「Describe in your own words what you are building」に貼り付けます。
A plugin which shares content from my website to my Twitter account.
--
What will you deliver to your users/customers?
I'm not delivering anything to users/customers currently, just sharing content from my website to my Twitter account.
--
How do you intend to analyze Tweets, Twitter users, or their content?
I don't intend to analyze any tweets from Twitter users or their content. I do not need such permissions/functionality, I'll just be sharing content from my website to my Twitter acount.
--
How is Twitter data displayed to users of your end product or service (e.g. will Tweets and content be displayed at row level or in aggregate)?
Tweets will be displayed as normal individual tweets and Twitter cards
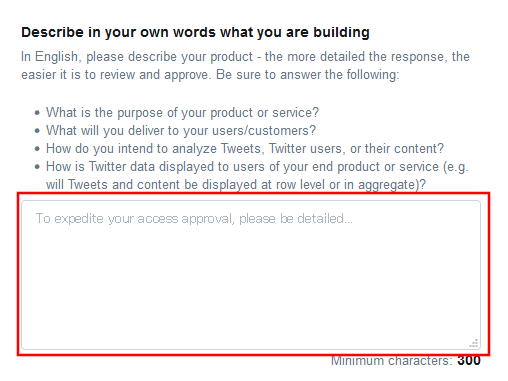
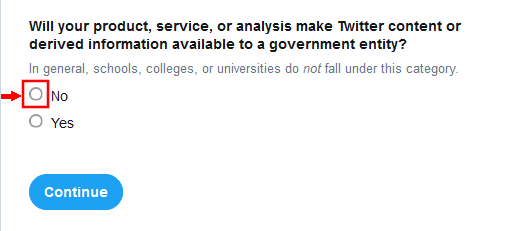
「No」を選択します。
すべて入力したら、「Continue」を押します。
「Developer Agreement」の右上の「灰色の四角」をクリックしながら、下まで移動させます。
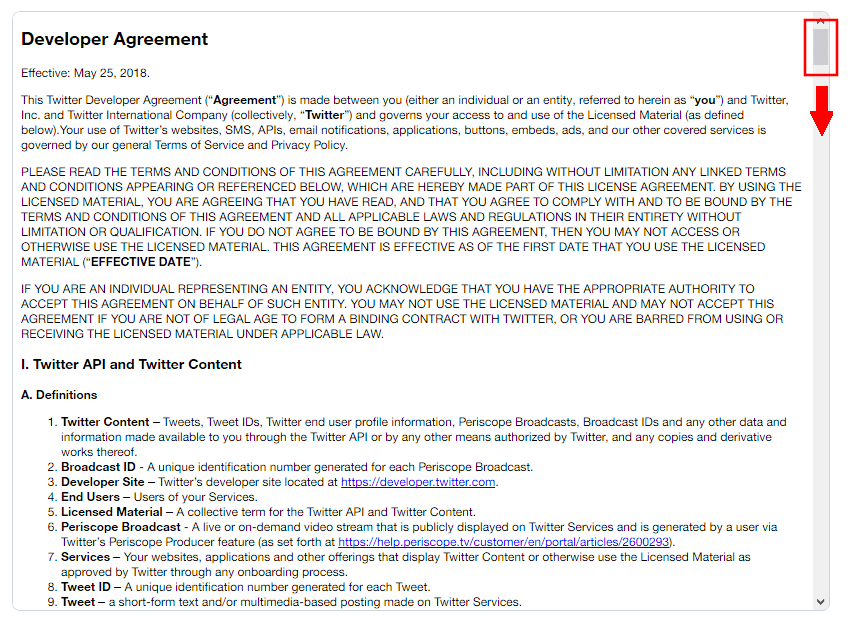
「灰色の四角」を移動させました。
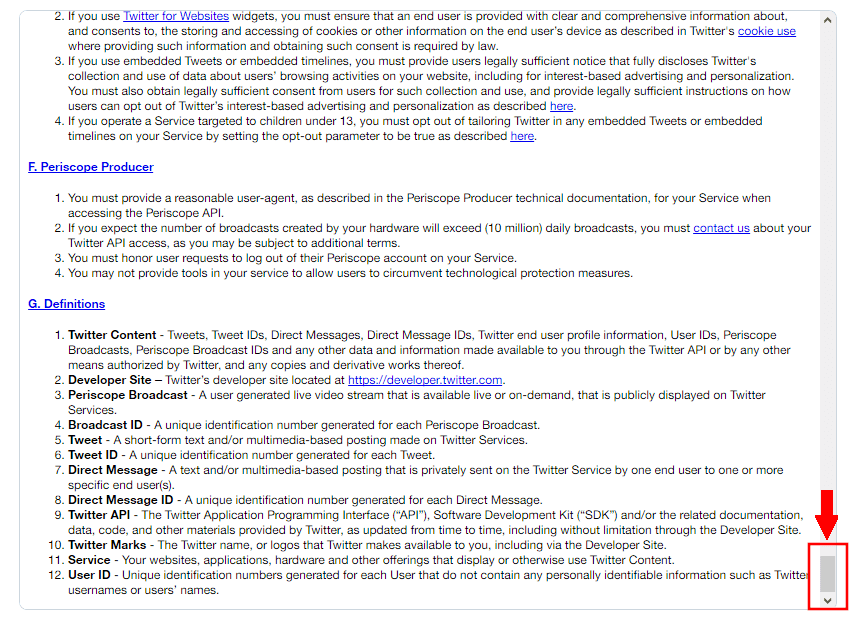
移動させたら、「By clickking・・」と「Subscribe」の2か所にチェックを入れます。

「Submit application」を押します。

ツイッターに登録してある、メールアドレスに確認メールが届きます。
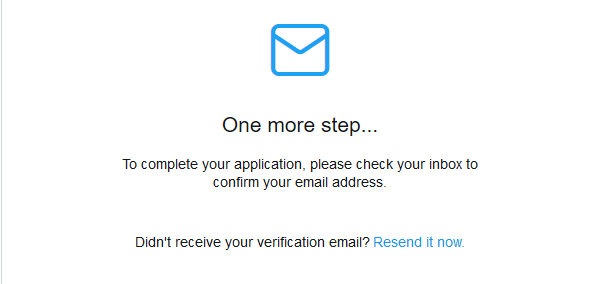
確認メール
ツイッターに登録しているメールアドレスに「確認メール」が届きます。
「Twitter Developer Acont」を押します。

「Confirm your email」を押します。

アプリ登録
「Create an app」を押します。
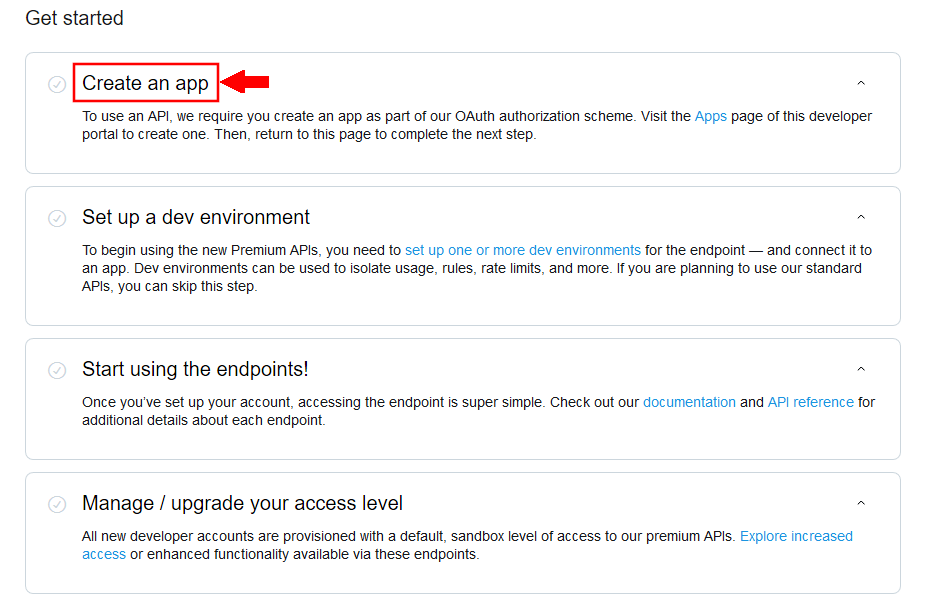
「Create an app」を押します。
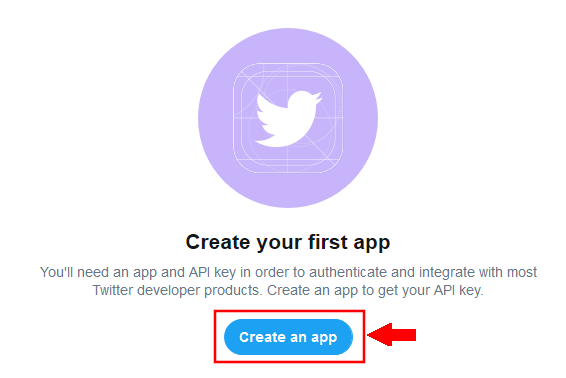
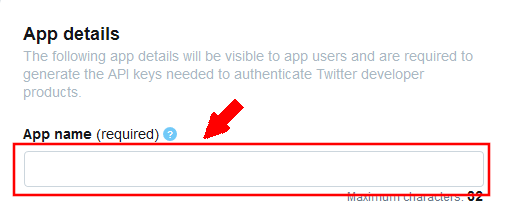
「app name」に自分のサイトの名前などをアルファベットで入力します。
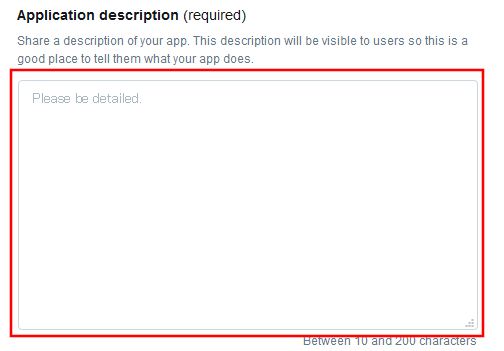
「Application description (required)」に「shares posts to Twitter」と入力します。
「Website URL」に自分のブログのURLを入力します。

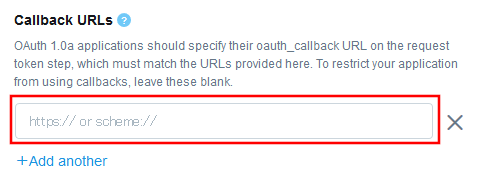
「Callback URLs」にhttp://自分のブログのURL/wp-admin/admin.phpと入力します。
記入例:
http://wp-sensei.net/wp-admin/admin.php
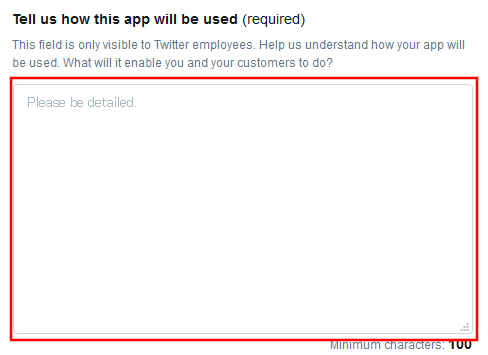
下記をコピーして、「Tell us how this app will be used (required)」に貼り付けます。
すべて入力が終わったら、「Create」を押します。

「Create」を押します。
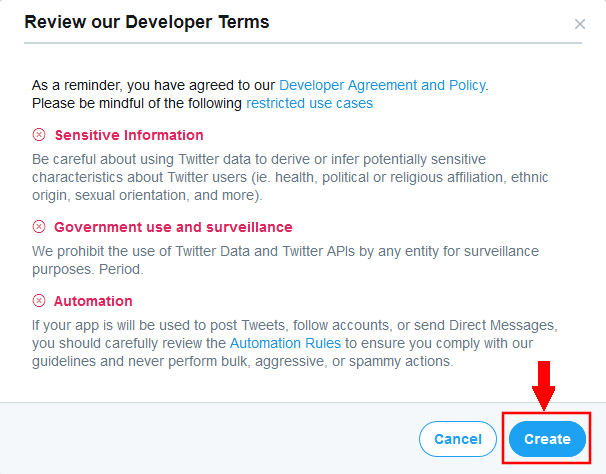
設定完了画面が表示されます。
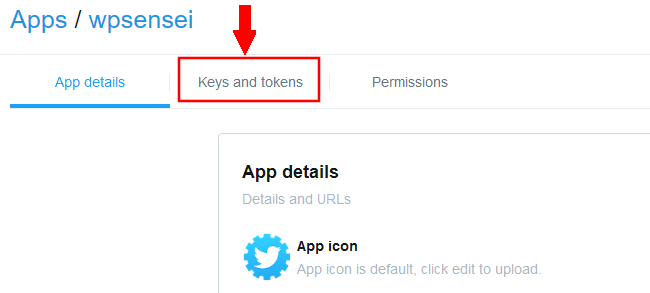
左上の「Keys and tokens」を押します。
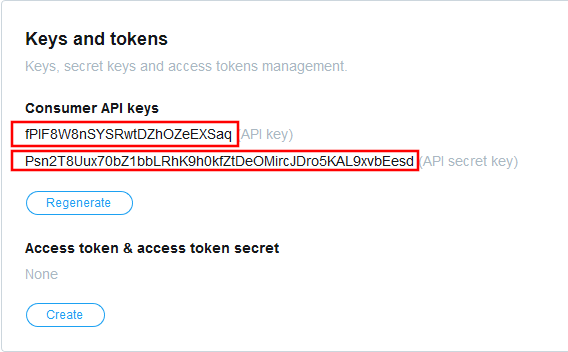
「API Key」と「API Secret Key」をコピーして、メモ帳などに貼り付けておきます。
Revive Old Postsインストール
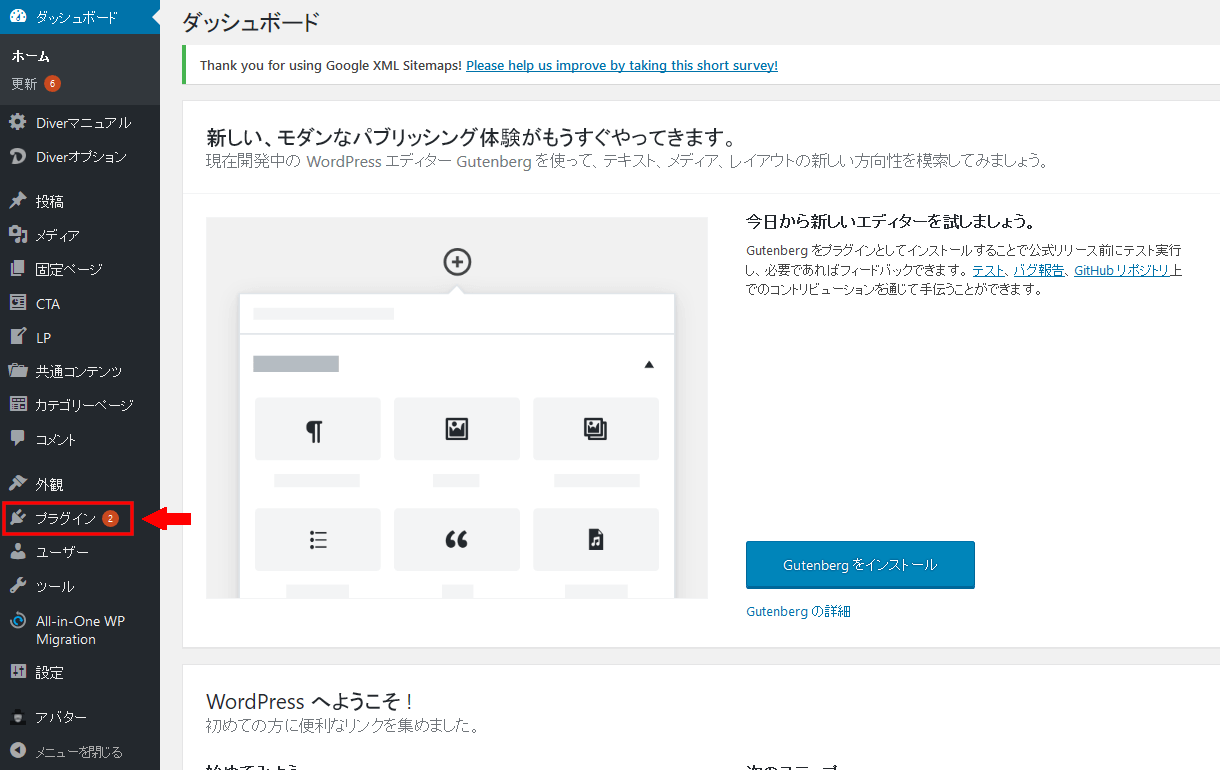
ワードプレスの管理画面を開きます
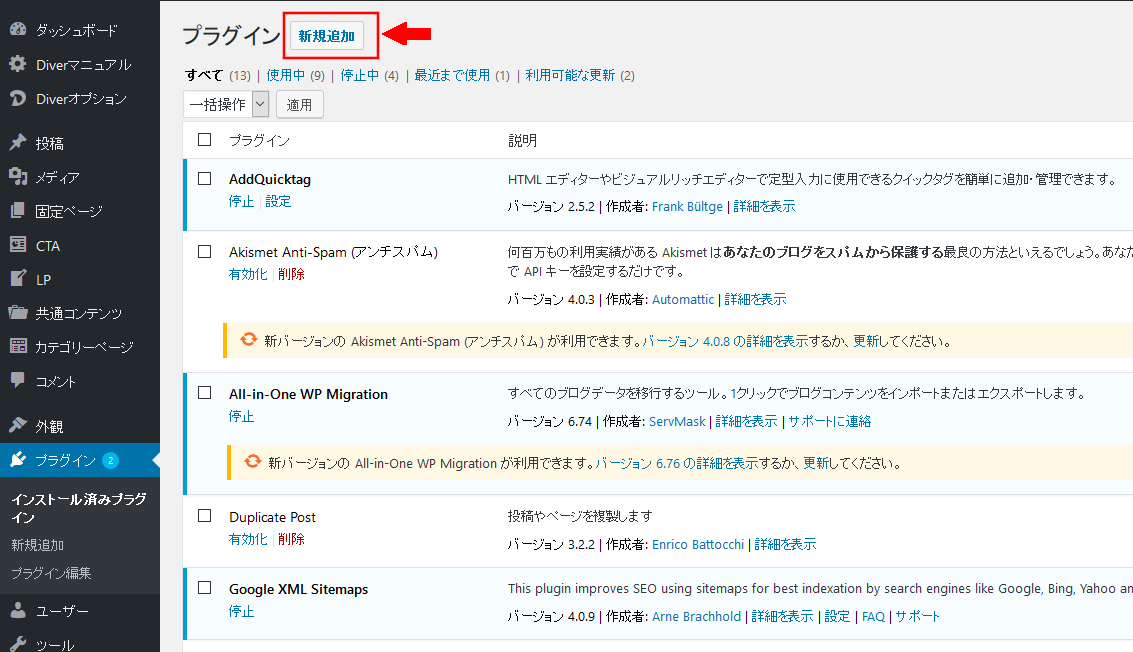
左側の「プラグイン」を押します。
左上の「新規追加」を押します。
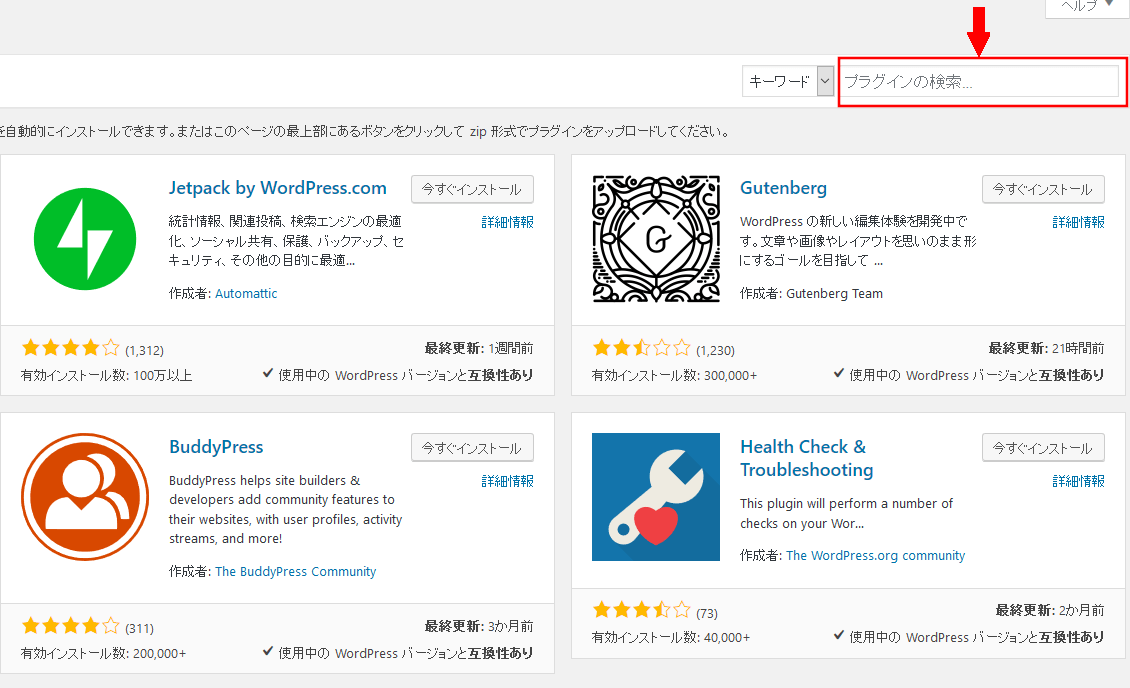
右上に「プラグイン検索」というところがあります。
そこに「Revive Old Posts」といれて検索してください。
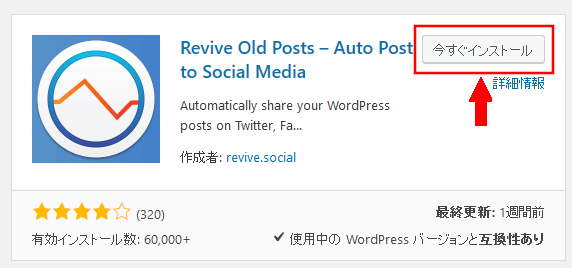
Revive Old Postsのところの「今すぐインストール」を押してください。
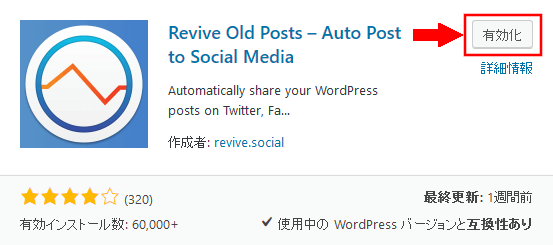
「有効化」を押してください。
Revive Old Postsとツイッターの連携
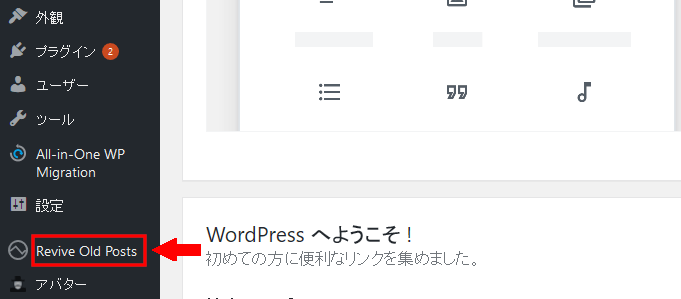
左下の「Revive Old Posts」を押します。
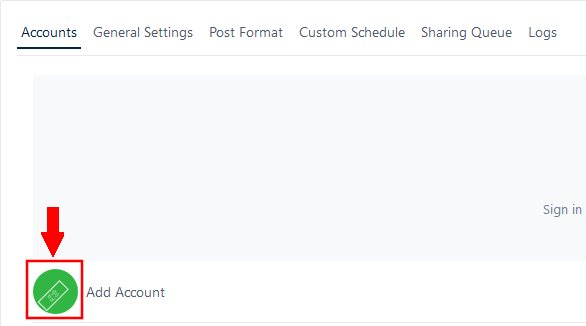
左下の「Add Account」の緑の丸を押します。
右下の「Twitter」を押します。

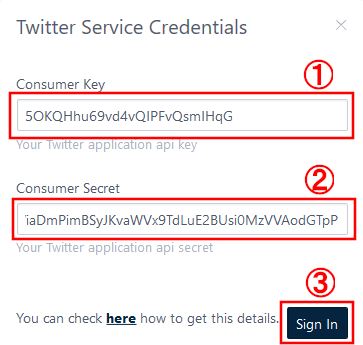
①「Consumer Key」のところに「API Key」を貼り付けます。
②「Cosumer Secret」のところに「API Secret Key」を貼り付けます。
③「Sigin In」を押します。
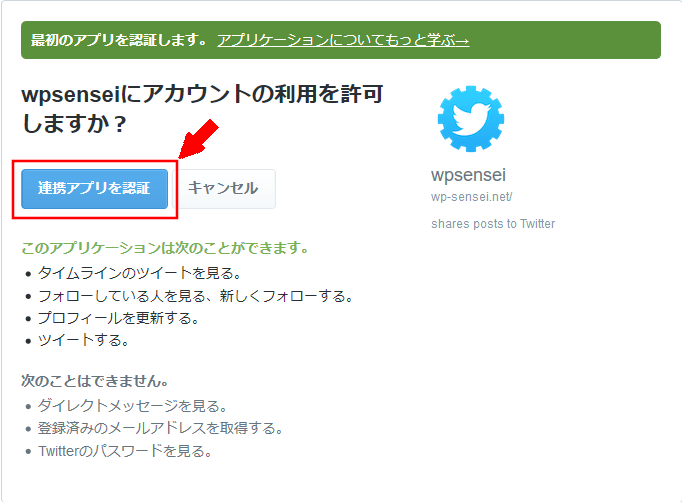
「連携アプリを認証」を押します。
ツイッターとの連携ができました。
